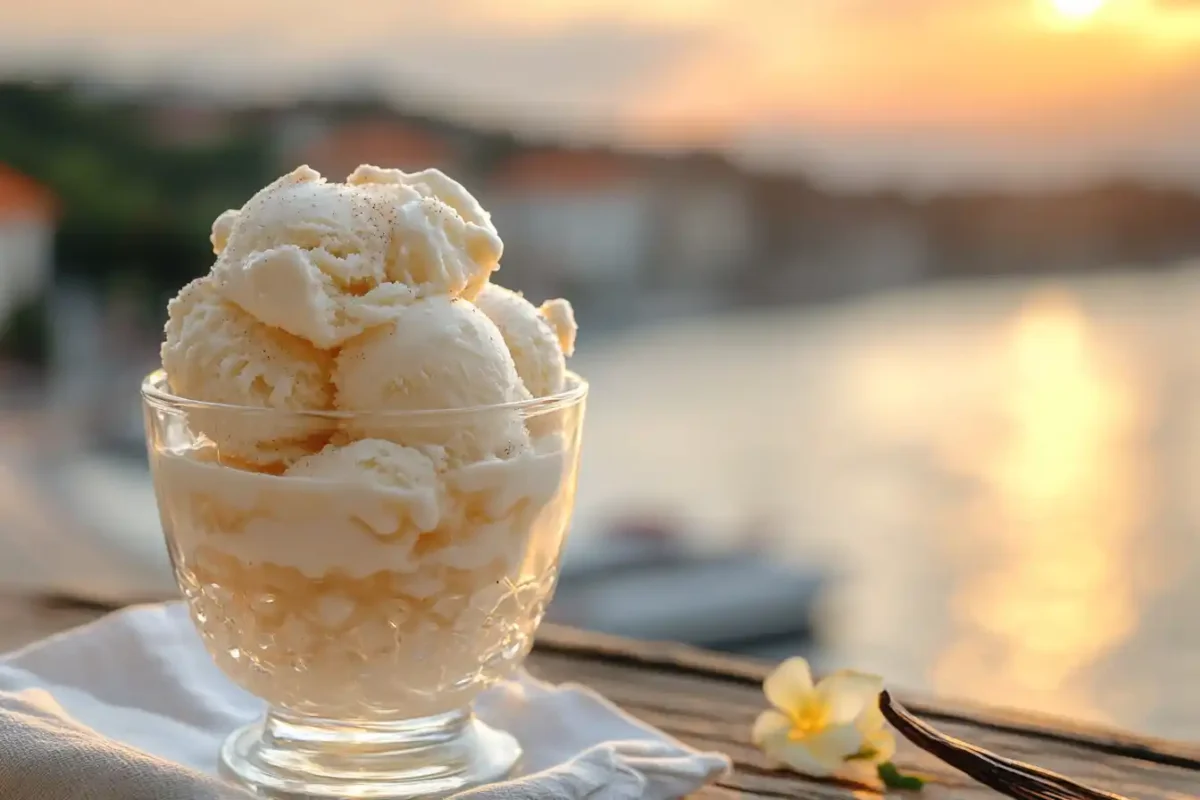
Vanilla bean ice cream is more than just dessert it’s comfort in a scoop. The first taste of its creamy sweetness can turn any day into something special.
I still remember the first time I had real vanilla bean ice cream made from scratch. It was at my grandma’s house on a warm summer afternoon. She used fresh vanilla beans and an old-fashioned churn, and as it thickened, the air filled with the scent of pure happiness. That was the moment I understood what homemade really means.
Making vanilla bean ice cream at home isn’t hard it just takes patience and a few quality ingredients. With real vanilla beans, rich cream, and egg yolks, you can create a smooth, custard-like texture that feels like pure luxury.
And when you’re ready to take it up a notch, serve your vanilla bean ice cream with my rich and chewy Fudgy Chocolate Brownies. The contrast of warm, gooey chocolate and cold, creamy vanilla is pure dessert harmony.
Simple, classic, and deeply satisfying this vanilla bean ice cream recipe is proof that homemade desserts truly taste like love.
Table of Contents
Table of Contents
Why vanilla bean ice cream Is Worth Making
The Unique Flavor of Real Vanilla Beans
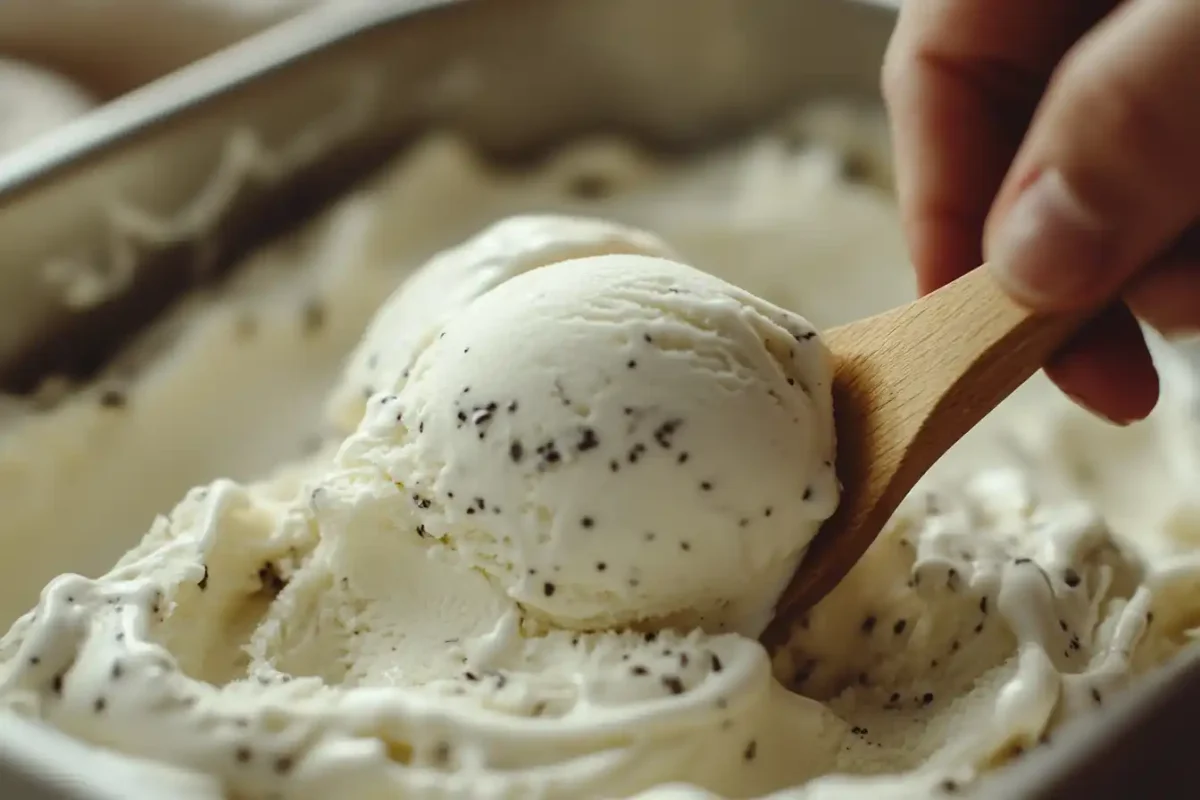
Real vanilla beans bring a bold, aromatic taste that extract just can’t match. Those tiny black flecks you see in true vanilla bean homemade ice cream? That’s where the flavor magic lives. Vanilla beans infuse your base with floral, creamy, and slightly spicy notes that taste luxurious in every bite.
Homemade vs Store-Bought: What’s the Difference?
While store-bought ice cream can be tasty, homemade gives you full control. You choose the quality of the cream, the richness of the eggs, and, of course, the freshness of your vanilla bean ice cream. Plus, there are no preservatives, artificial colors, or fake flavorings. Just honest-to-goodness flavor.
Print
Vanilla Bean Homemade Ice Cream
This creamy and rich vanilla bean homemade ice cream recipe features real vanilla pods, egg yolks, and heavy cream for the ultimate scoopable frozen dessert.
- Total Time: 4 hours 45 minutes
- Yield: 1.5 quarts
Ingredients
2 cups heavy cream
1 cup whole milk
3/4 cup granulated sugar
5 large egg yolks
1 whole vanilla bean pod, split and scraped
1/8 teaspoon salt
Instructions
In a medium saucepan, combine the heavy cream, whole milk, salt, and both the seeds and pod of the vanilla bean. Heat the mixture over medium heat until it’s steaming but not boiling.
In a bowl, whisk together the sugar and egg yolks until light in color and slightly thick.
Slowly ladle some of the hot cream mixture into the egg yolks while whisking constantly to temper the eggs.
Pour the tempered egg mixture back into the saucepan with the remaining cream, whisking constantly.
Cook the mixture over medium-low heat, stirring frequently, until it thickens enough to coat the back of a spoon or reaches 170°F (77°C).
Remove from heat and strain the custard through a fine mesh sieve into a clean bowl to remove solids and the vanilla pod.
Let the mixture cool to room temperature, then cover and refrigerate for at least 4 hours or overnight.
Once chilled, pour the mixture into an ice cream maker and churn according to the manufacturer’s instructions until it reaches a soft-serve consistency.
Transfer the churned ice cream into an airtight container. Cover with plastic wrap pressed against the surface and freeze for at least 3 hours or until firm.
Notes
Use high-quality vanilla beans for best flavor. Madagascar beans provide creamy richness, while Tahitian beans offer a floral taste. If you don’t have an ice cream maker, whip 2 cups of heavy cream, fold into the custard base, and freeze for a no-churn version. To avoid ice crystals, chill the base completely and press plastic wrap directly onto the surface. For flavor twists, add caramel, chocolate swirls, or fruit compotes after churning.
- Prep Time: 4 hours 30 minutes
- Cook Time: 4 hours 45 minutes
- Category: Dessert
- Method: Churned
- Cuisine: American
Key Ingredients for the Best Vanilla Bean Ice Cream

Let’s talk about what goes into the perfect batch of vanilla bean homemade ice cream. Quality ingredients make all the difference.
| Ingredient | Quantity |
|---|---|
| Heavy Cream | 2 cups |
| Whole Milk | 1 cup |
| Granulated Sugar | 3/4 cup |
| Egg Yolks | 5 large |
| Vanilla Bean Pod | 1 whole, split and scraped |
| Salt | 1/8 teaspoon |
Choosing the Right vanilla bean ice cream (Tahitian, Madagascar, etc.)
Madagascar vanilla bean ice cream are creamy and rich great for traditional ice cream. Tahitian beans are floral and fruity, perfect if you want a lighter, more fragrant flavor. Whatever you choose, make sure your beans are plump and shiny, not dried out.
Heavy Cream, Whole Milk, and Egg Yolks: What Each Adds
The combination of heavy cream and whole milk gives your ice cream its creamy body. Egg yolks add richness and create a custard-like base that gives the dessert its scoopable smoothness. The result? A luxurious texture that beats anything you’ve ever bought in a store.
Optional Add-ins for Flavor and Texture
Want to level up your vanilla bean homemade ice cream? Try swirling in caramel sauce, folding in cookie crumbs, or tossing in roasted almonds after churning. You can even fold in fruit compote for a burst of fresh flavor.
Step-by-Step Vanilla Bean Homemade Ice Cream Recipe
Full Ingredients List with Measurements
All ingredients listed above can be scaled up or down. This batch makes about 1.5 quarts of ice cream—enough to serve 6 to 8 people generously.
Making the Custard Base from Scratch
- In a medium saucepan, combine the cream, milk, salt, and the seeds and pod of the vanilla bean. Heat over medium until steaming but not boiling.
- In a bowl, whisk together the sugar and egg yolks until light and slightly thickened.
- Slowly pour a ladle of the hot cream into the egg mixture while whisking constantly (this step is called tempering).
- Gradually pour the tempered egg mixture back into the saucepan while stirring.
- Cook over medium-low heat, stirring constantly, until the custard thickens slightly and coats the back of a spoon (about 170°F/77°C).
- Remove from heat and strain through a fine mesh sieve into a clean bowl to remove any curdled bits and the vanilla pod.
Chilling and Churning the Ice Cream Base
- Let the custard cool to room temperature, then cover and chill in the refrigerator for at least 4 hours or overnight.
- Once cold, churn in your ice cream maker according to the manufacturer’s instructions until it reaches a soft-serve texture.
Freezing and Storage Tips
- Transfer the churned ice cream to an airtight container, smoothing the top with a spatula.
- Press a piece of plastic wrap directly on the surface to prevent ice crystals.
- Freeze for at least 3 hours or until firm enough to scoop.
Common Mistakes When Making Vanilla Bean Ice Cream
Ice Crystals Forming in the Final Ice Cream
This usually happens if the base wasn’t fully chilled before churning or if there’s too much water content. Always chill the custard thoroughly and avoid watery mix-ins.
Why Your Ice Cream Tastes Eggy or Too Sweet
If your ice cream tastes like scrambled eggs, the custard got too hot. Keep it below 175°F and stir constantly. If it’s too sweet, try reducing the sugar by 1–2 tablespoons next time or balance it with a pinch of salt.
Fixing a Thin or Runny Ice Cream Base
If your base doesn’t thicken, your eggs may not have cooked enough. Cook longer next time, or add a teaspoon of cornstarch for extra structure before chilling.
Nutrition Facts (Per 1/2 cup serving)
| Nutrient | Amount |
|---|---|
| Calories | 240 |
| Fat | 18g |
| Saturated Fat | 11g |
| Cholesterol | 140mg |
| Sodium | 45mg |
| Sugar | 18g |
| Protein | 4g |
Helpful Internal Links for Frozen Dessert Lovers
- Looking for something fruity? Try this Strawberry Crunch Ice Cream Cake!
- Need a sugar-free version? Check out this Sugar-Free Ice Cream recipe.
- Pair it with Mango Cream Dessert for a tropical combo!
Tips for Ultra-Creamy, Scoopable Vanilla Bean Ice Cream
Using Cornstarch or Glucose for a Silkier Texture
If you want that ultra-creamy, professional-level texture, consider adding a small amount of cornstarch or glucose syrup. Cornstarch helps absorb excess water and prevents ice crystals. Just whisk in 1 teaspoon with the sugar before adding to your eggs. Glucose syrup, on the other hand, adds smoothness and reduces icy textures especially useful if you’re planning to store your vanilla bean homemade ice cream for more than a few days.
The Magic of Slow-Churning and Proper Freezing
Slow-churning incorporates less air (called “overrun”), resulting in denser, richer ice cream. If your machine has a speed setting, go slow. Also, freeze your storage container beforehand and cover the ice cream directly with plastic wrap to avoid freezer burn. Patience pays off your ice cream will be smooth, not grainy.
How to Balance Sweetness and Flavor
If your base tastes a little too sweet before churning, it might be perfect after freezing. Cold temperatures dull sweetness slightly, so don’t adjust too soon. However, if you prefer less sugar overall, reduce it by up to 2 tablespoons without affecting the texture too much.
Delicious Variations of vanilla bean ice cream
Vanilla Bean with Chocolate Swirl
After churning your vanilla base, gently swirl in warm (but not hot) melted chocolate using a spatula. You’ll get ribbons of chocolate in every scoop, creating a decadent twist without overpowering the delicate vanilla flavor.
Vanilla Bean Ice Cream with Fresh Fruit Mix-ins
Fold in macerated strawberries, roasted peaches, or blueberry compote after churning. For best results, use cooked or dehydrated fruit to prevent icy pockets. Try pairing it with this Strawberry Crunch Ice Cream Cake for a fruity double feature.
Sugar-Free or Dairy-Free Vanilla Bean Ice Cream Options
Looking for something lighter? You can replace sugar with erythritol or monk fruit sweetener (same measurements). For dairy-free, use full-fat coconut milk or oat milk with a tablespoon of cashew butter for richness. Or check out this sugar-free ice cream recipe for more ideas.
Equipment You’ll Need for Homemade Ice Cream Success
Ice Cream Makers: Compressor vs. Manual Freeze Bowl
There are two main types of ice cream makers:
- Compressor models: Built-in freezers, no pre-chilling needed. Great for frequent use.
- Manual freeze bowl types: Must be frozen overnight. Budget-friendly and effective, but slower.
If you’re serious about making vanilla bean ice cream regularly, a compressor model is a worthwhile investment.
Must-Have Tools: Thermometer, Fine Strainer, Airtight Container
A thermometer ensures your custard hits the right temperature (170–175°F) without curdling. A fine mesh strainer keeps your base silky by catching egg bits or vanilla pod fragments. And don’t forget a sturdy, airtight container for freezing bonus points if it’s wide and shallow for easy scooping.
Serving Ideas and Dessert Pairings for Vanilla Bean Ice Cream
Perfect Pairings: Warm Brownies, Fruit Pies, and More
This creamy dessert pairs beautifully with warm, fudgy treats or crisp fruit-based pastries. Spoon it over:
- Chocolate Avocado Brownies
- Fresh apple or cherry pie
- Grilled peaches or bananas with cinnamon
The contrast between hot and cold is simply irresistible.
Creative Sundaes and Float Ideas
Want to get playful? Layer scoops of vanilla bean homemade ice cream with chocolate sauce, chopped nuts, and whipped cream for the ultimate sundae. Or pour cold root beer or cream soda over a scoop for an old-school ice cream float. Simple, nostalgic, and oh-so-yum.
Storing and Preserving Homemade Vanilla Bean Ice Cream
Best Containers to Avoid Freezer Burn
Use BPA-free, airtight containers with tight lids. Pressing plastic wrap directly onto the surface of the ice cream also helps reduce freezer burn. Store it toward the back of your freezer where temperatures are most stable.
How Long Does Homemade Ice Cream Last?
Homemade vanilla bean ice cream stays fresh for about 2 weeks. After that, the texture may degrade and crystals can form. If you plan to store it longer, keep mix-ins separate and always use a clean scoop.
Final Thoughts: Why This vanilla bean ice cream Recipe is a Must-Try
This vanilla bean homemade ice cream recipe isn’t just a dessert it’s a project you’ll fall in love with. It’s simple enough for beginners and customizable enough for pros. Every scoop brings you back to basics with honest ingredients and pure, creamy flavor. Plus, it’s a perfect base for experimenting with mix-ins and pairings.
Whether you’re celebrating summer, making sweet memories with family, or just treating yourself to something classic and comforting, this recipe delivers. You deserve a dessert that tastes as rich and satisfying as this one.
Looking for more sweet inspiration?
👉 Discover more easy recipes on Facebook and Instagram for even more easy, cozy recipes made with love.
Frequently Asked Questions About Vanilla Bean Ice Cream
Can I Make This Without an Ice Cream Machine?
Yes! Whip 2 cups of heavy cream to stiff peaks, fold it into the chilled custard base, and freeze for 6–8 hours. The texture won’t be as smooth as churned, but it’s still delicious.
How to Adjust Sweetness or Use Alternative Sugars
You can replace white sugar with maple syrup, honey, or coconut sugar. Just reduce the total liquid slightly to account for the added moisture in liquid sweeteners.
What’s the Best Vanilla Bean Paste Substitute?
If you can’t find vanilla bean pods, use 1 tablespoon of high-quality vanilla bean paste or 2 teaspoons of pure vanilla extract. You’ll lose the speckled appearance, but not much in flavor.